Milk Steaming and Latte Art: The Complete Beginner's Guide
[IMAGE: latte art rosetta pattern in white ceramic cup overhead view]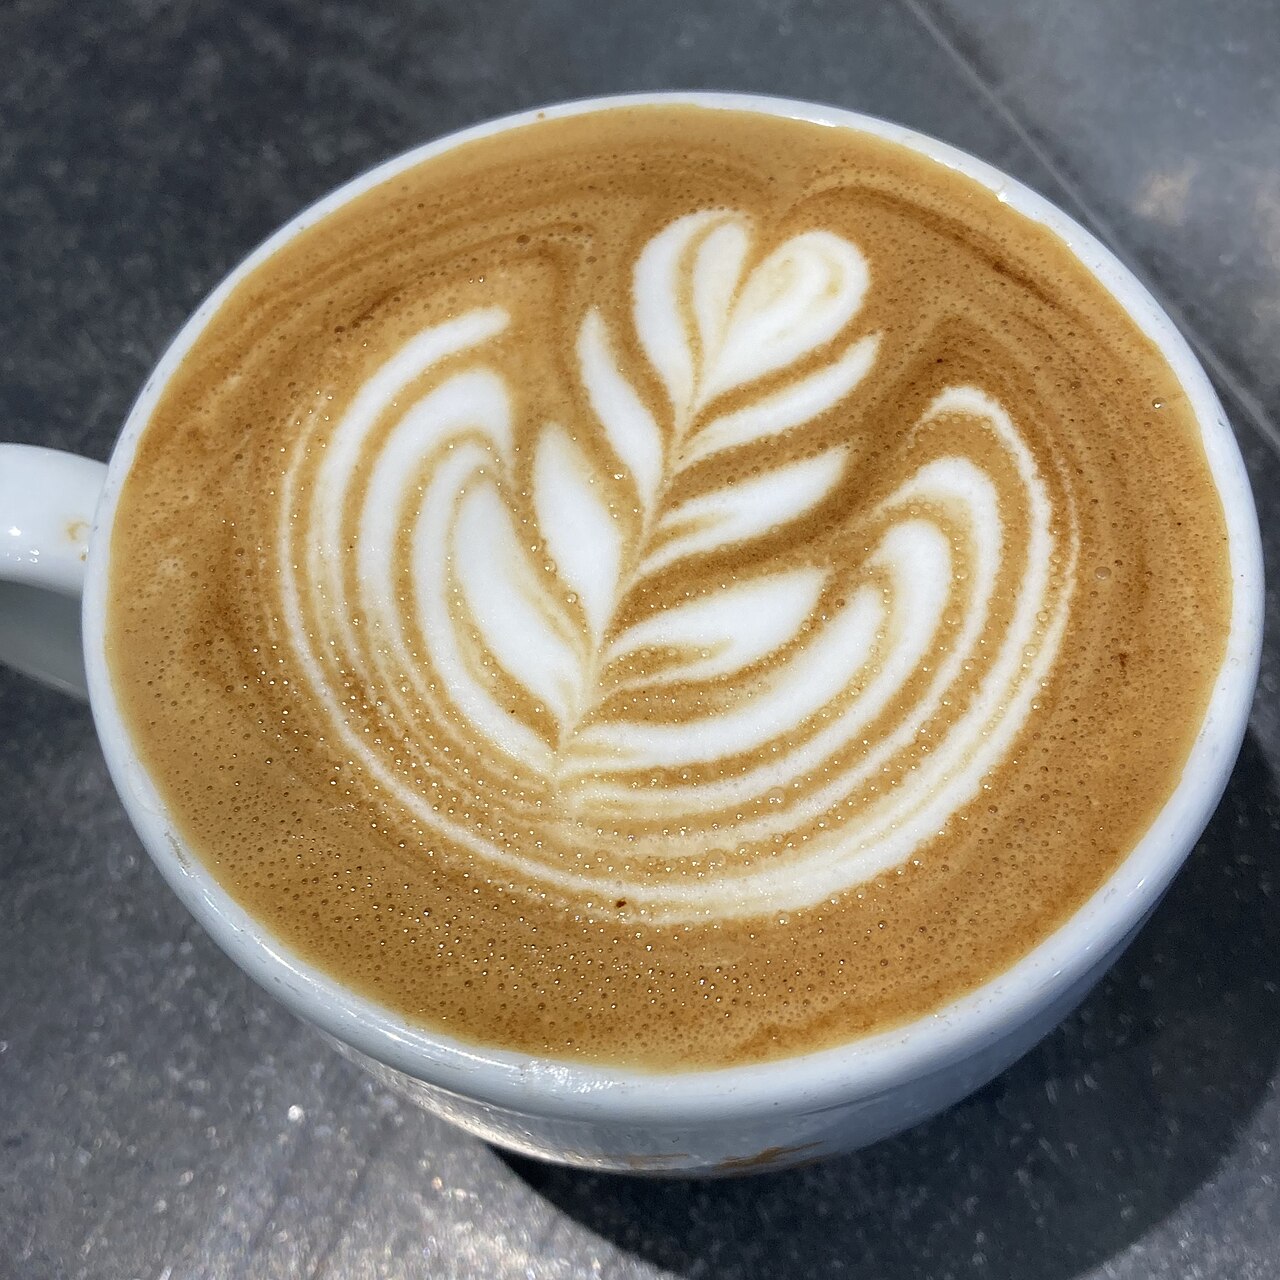
Latte art is mostly not talent. It is the predictable consequence of two skills: steaming silky microfoam, and pouring it with controlled motion at the right height into espresso of the right consistency. Most beginners try to learn the pour first and struggle, because no pouring technique can rescue badly textured milk. Get the milk right and the pour follows almost on its own. This guide walks through the physics of milk steaming, the actual technique used by working baristas, the three foundational latte art patterns (heart, tulip, rosetta), and how to fix the most common mistakes — bubbles, dry foam, separation, and the squeal of overheating.
What "Microfoam" Actually Is
Steamed milk for latte art is not the same as foamed milk. Foamed milk has visible bubbles. Microfoam has no visible bubbles — it is a uniform, glossy, paint-like liquid where the air has been incorporated as bubbles too small to see. The texture is similar to wet semi-gloss paint or cream. When poured, microfoam flows and folds rather than splashing, which is what makes it possible to draw patterns on the surface of espresso.
Microfoam forms when steam injects air into milk in two distinct phases. The first phase — called stretching — adds the air. The second phase — called texturing — breaks the bubbles down into the microscopic uniform suspension that gives microfoam its character. Skipping or rushing either phase produces foam, not microfoam. Latte art is impossible on foam. It requires microfoam.
This is the central technical fact that beginners need to absorb before attempting any pour. The steaming determines the outcome. The pour reveals it.
[IMAGE: steaming milk pitcher with steam wand close-up technique]
The Steam Wand and the Pitcher
Every espresso machine produces steam through a wand — a narrow metal pipe with a tip that has multiple small holes. Pressing the steam handle releases pressurized steam through those holes, creating both the heat and the agitation that texture the milk.
The pitcher is not an accessory. The pitcher matters. A typical 12-ounce milk pitcher in stainless steel, with a tapered rounded interior bottom and a sharp pour spout, will produce vastly better results than a pitcher with the wrong geometry. Look for: stainless steel construction (transfers heat predictably), rounded bottom (creates the whirlpool needed for texturing), tapered narrow spout (controls pour direction).
Fill the pitcher to roughly one-third capacity for the milk volume needed. Cold milk fresh from the refrigerator (around 4°C / 38°F) is correct. Steaming room-temperature milk produces inferior microfoam.
The Stretch Phase
Place the steam wand tip just below the surface of the milk. Open the steam fully. The first three to six seconds are the stretch phase: the wand should produce a quiet, controlled sound that experienced baristas describe as a "paper tear." This sound is the sound of small amounts of air being injected into the milk through tiny pulls of surface tension. The volume of milk visibly rises during this phase.
The signal that you are stretching too aggressively is a deep, gurgling, splashing sound — the sound of large bubbles forming. Large bubbles never break down into microfoam. They produce the dry-foam texture that ruins latte art. If you hear gurgling, lower the pitcher slightly to submerge the wand deeper.
The signal that you are not stretching enough is silence. If the wand is too far below the surface, no air is being injected and the milk only heats. The result is hot liquid milk with no foam at all — fine for a flat white, useless for a cappuccino, ineffective for art.
The stretch phase ends when the milk has gained roughly 20 to 30 percent in volume for a latte (more for a cappuccino, less for a flat white). For a 6-ounce latte starting volume, this is about a 1.5-ounce volume increase — enough to be obvious but not so much that the pitcher is full.
The Texture Phase
Once stretching is complete, submerge the wand slightly deeper. The sound should change from the paper-tear of air injection to a smooth, low whirlpool sound. The milk should be visibly spinning in the pitcher, creating a vortex that draws bubbles down into the body of the milk and breaks them down.
This is the texturing phase. The vortex is the active mechanism. As long as the milk is spinning, the bubbles introduced during stretching are being subdivided into the microscopic structure of microfoam. The milk transforms from a foamy mixture into the glossy, paint-like liquid that defines microfoam.
Texturing continues until the milk reaches the target temperature. For most milk drinks, that target is between 55 and 65 degrees Celsius (130 to 150 degrees Fahrenheit). The most reliable way to measure this without a thermometer is to hold the pitcher in your free hand — when the pitcher becomes uncomfortably hot to hold, you are at temperature. Pull the wand out, close the steam, and pour immediately.
[IMAGE: pouring milk into espresso latte heart shape barista hands]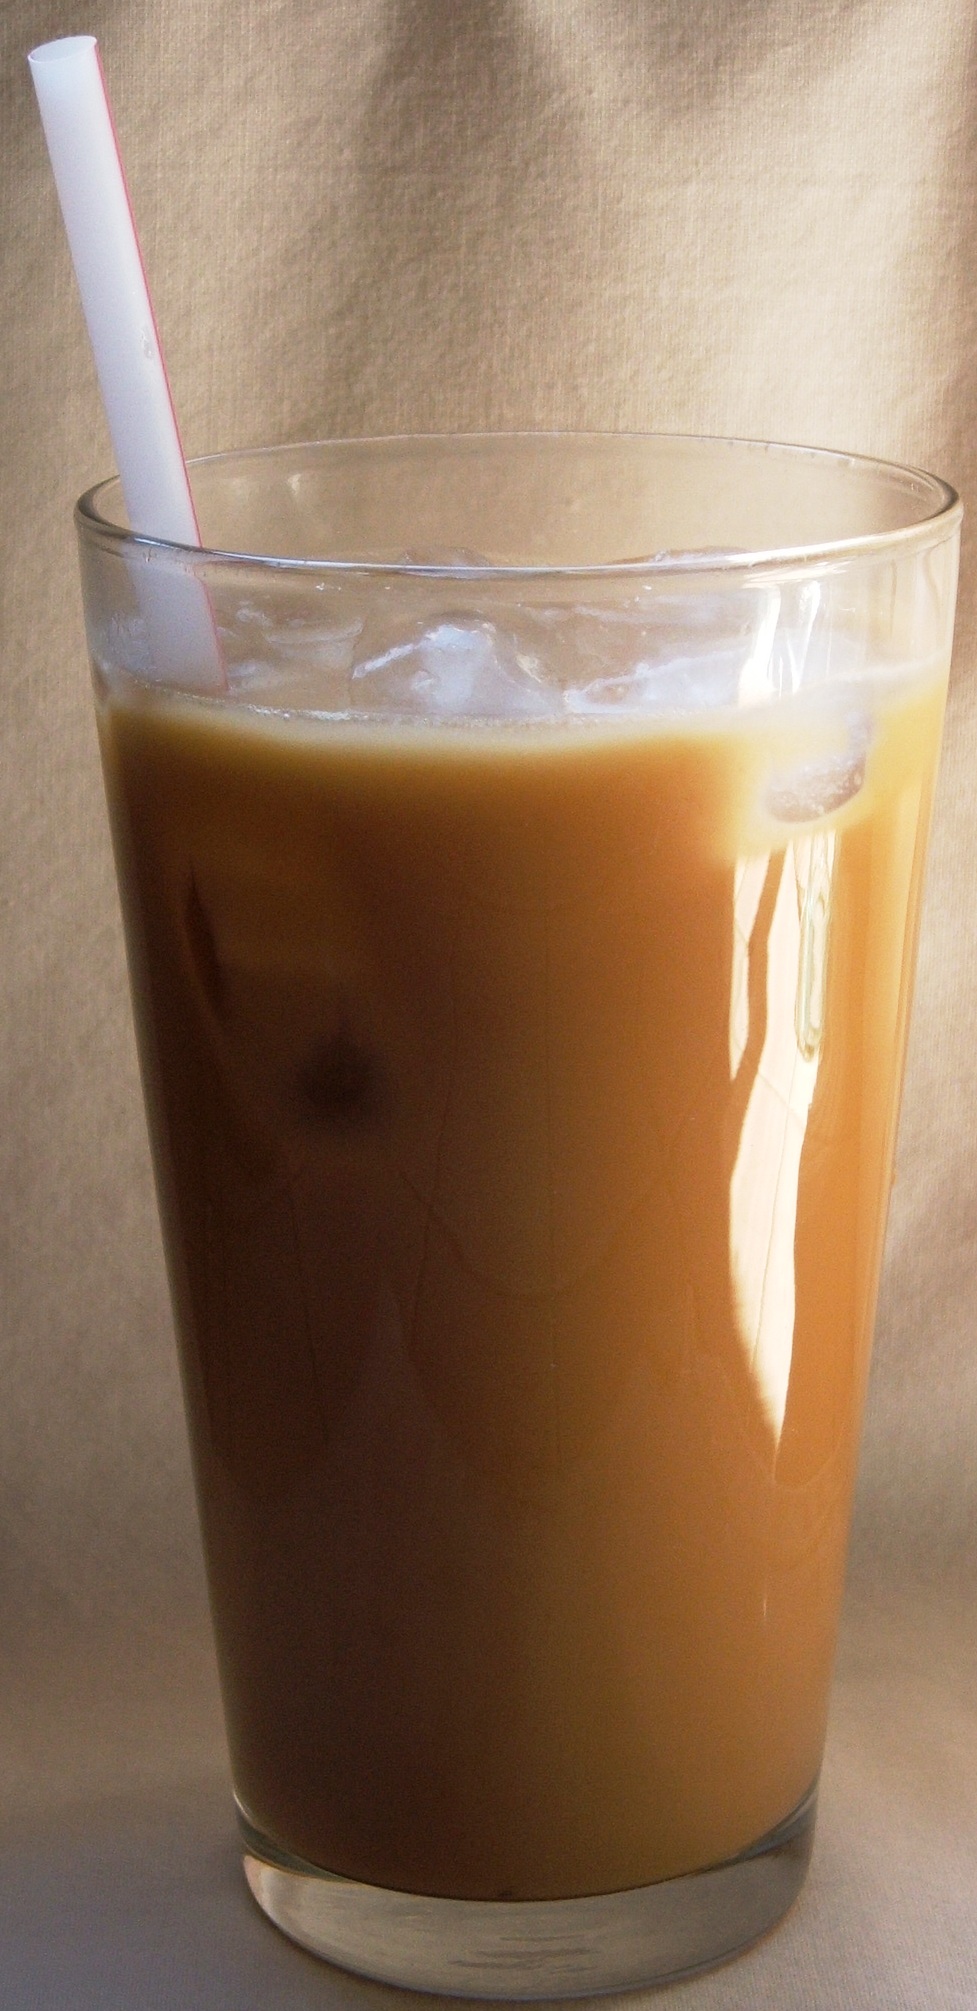
Why Temperature Matters
The temperature target exists for two reasons. The first is taste. Milk that has been steamed above 70°C / 158°F begins to scald — the sugar and protein chemistry shifts, sweetness drops, and the milk takes on the slightly burnt note that distinguishes overheated grocery-store steamed milk from well-textured cafe milk. The second is texture. Microfoam structure breaks down at high temperature. Milk steamed too hot loses its glossy paint-like quality and reverts to thin liquid plus dry foam on top.
The other end of the range matters too. Milk steamed below 55°C feels lukewarm in the cup. The sweetness has not yet developed. The drink feels under-temperatured.
The 55-65°C window is narrow but achievable with practice. Within a few weeks of regular practice, most baristas can hit it consistently by feel.
Whole Milk vs Other Options
The ideal milk for steaming and latte art is whole dairy milk (3.25% fat). The combination of fat, protein, and sugar in whole milk produces the richest microfoam, the longest-lasting foam stability, and the sweetest taste. Most cafes use whole milk by default for this reason.
Reduced-fat milk (2%, 1%) steams adequately but produces thinner foam with less staying power. The fat is part of what stabilizes the foam structure. Skim milk produces the dry, pillowy foam that some traditions favor for cappuccinos but is poor for latte art.
Oat milk has emerged as the best alternative for latte art. Quality barista-formulated oat milks (Oatly Barista, Minor Figures, Califia Farms Barista Blend) are explicitly engineered for steaming and produce microfoam comparable to whole dairy. Standard supermarket oat milk does not steam well — the protein and fat content is wrong. The barista versions are different.
Almond, soy, and coconut milks are more variable. Some brands steam reasonably; many do not. Generally, look for "barista" or "barista blend" labeling, which indicates the formulation has been adjusted for foam stability.
The Three Foundation Patterns
With properly textured microfoam in hand, three pour patterns are the foundation of latte art. Master these three and most other patterns are extensions or combinations of them.
The heart. The simplest pattern. Pour from a height of about 6 to 8 inches above the cup, keeping the milk stream thin so it sinks below the espresso surface and integrates rather than floating on top. When the cup is roughly two-thirds full, lower the pitcher close to the surface and increase the flow rate. A white circle of foam will appear on the surface of the espresso. Continue pouring in the same spot — the circle grows. To finish the heart, raise the pitcher and pull the spout straight across the surface of the drink in a quick line, cutting through the white circle to create the heart's point.
The tulip. A series of stacked hearts, each one pushed forward into the previous. Pour the first heart as above, then briefly stop the pour, move the spout backward in the cup by a small distance, and pour again to create a second white circle that pushes the first one forward. Repeat for two or three more layers, each smaller than the last. Finish by drawing a line through all of them to create a stacked tulip pattern.
The rosetta. The most demanding of the three. Begin like a heart, but instead of holding the pitcher steady once the white circle appears, wiggle the pitcher gently side-to-side as you pour. The wiggle creates parallel bands of foam radiating from the pitcher's pour point. As you continue, slowly draw the pitcher backward across the surface of the cup, leaving a trail of bands behind. Finish with a quick straight line through the center to create the leaf-like spine of the rosetta.
The wiggle for the rosetta is the part most beginners struggle with. The motion is small — perhaps a half-inch side to side — and rhythmic. Hand position matters: the wrist stays loose, the elbow steady. Many baristas practice the wiggle motion with empty pitchers over a sink to develop the feel before attempting it on a drink.
Common Mistakes and Fixes
Bubbles on the surface of the foam. The stretch was too aggressive — too much air injected too fast. Lower the pitcher position during stretching, or shorten the stretch phase. Remaining bubbles can be partly removed by gently tapping the pitcher on the counter and swirling the milk.
Milk that separates into liquid and dry foam. The texture phase was too short or never produced a real vortex. Submerge the wand deeper after stretching, and continue texturing until the visible vortex pulls the foam downward into the milk. The milk should look glossy and uniform when finished, not separated.
Foam that disappears into the espresso instead of floating. Pouring height was too high or the pour was too thin. Lower the pitcher closer to the cup surface during the visible-art phase, and widen the pour stream slightly. Microfoam needs enough mass to float; tiny streams sink.
Milk that squeals during steaming. The wand position is wrong — usually too close to the side of the pitcher. Reposition the pitcher so the wand is in line with the pitcher's center axis but slightly off-center to produce the spin.
Latte art that looks gray or muddy. The espresso under the milk has either no crema or has been disturbed. Pour the espresso fresh, immediately before steaming the milk, and do not stir or agitate it before pouring. The crema layer is what the foam draws against to produce the white-on-brown contrast.
[IMAGE: barista pouring latte art professional cafe technique]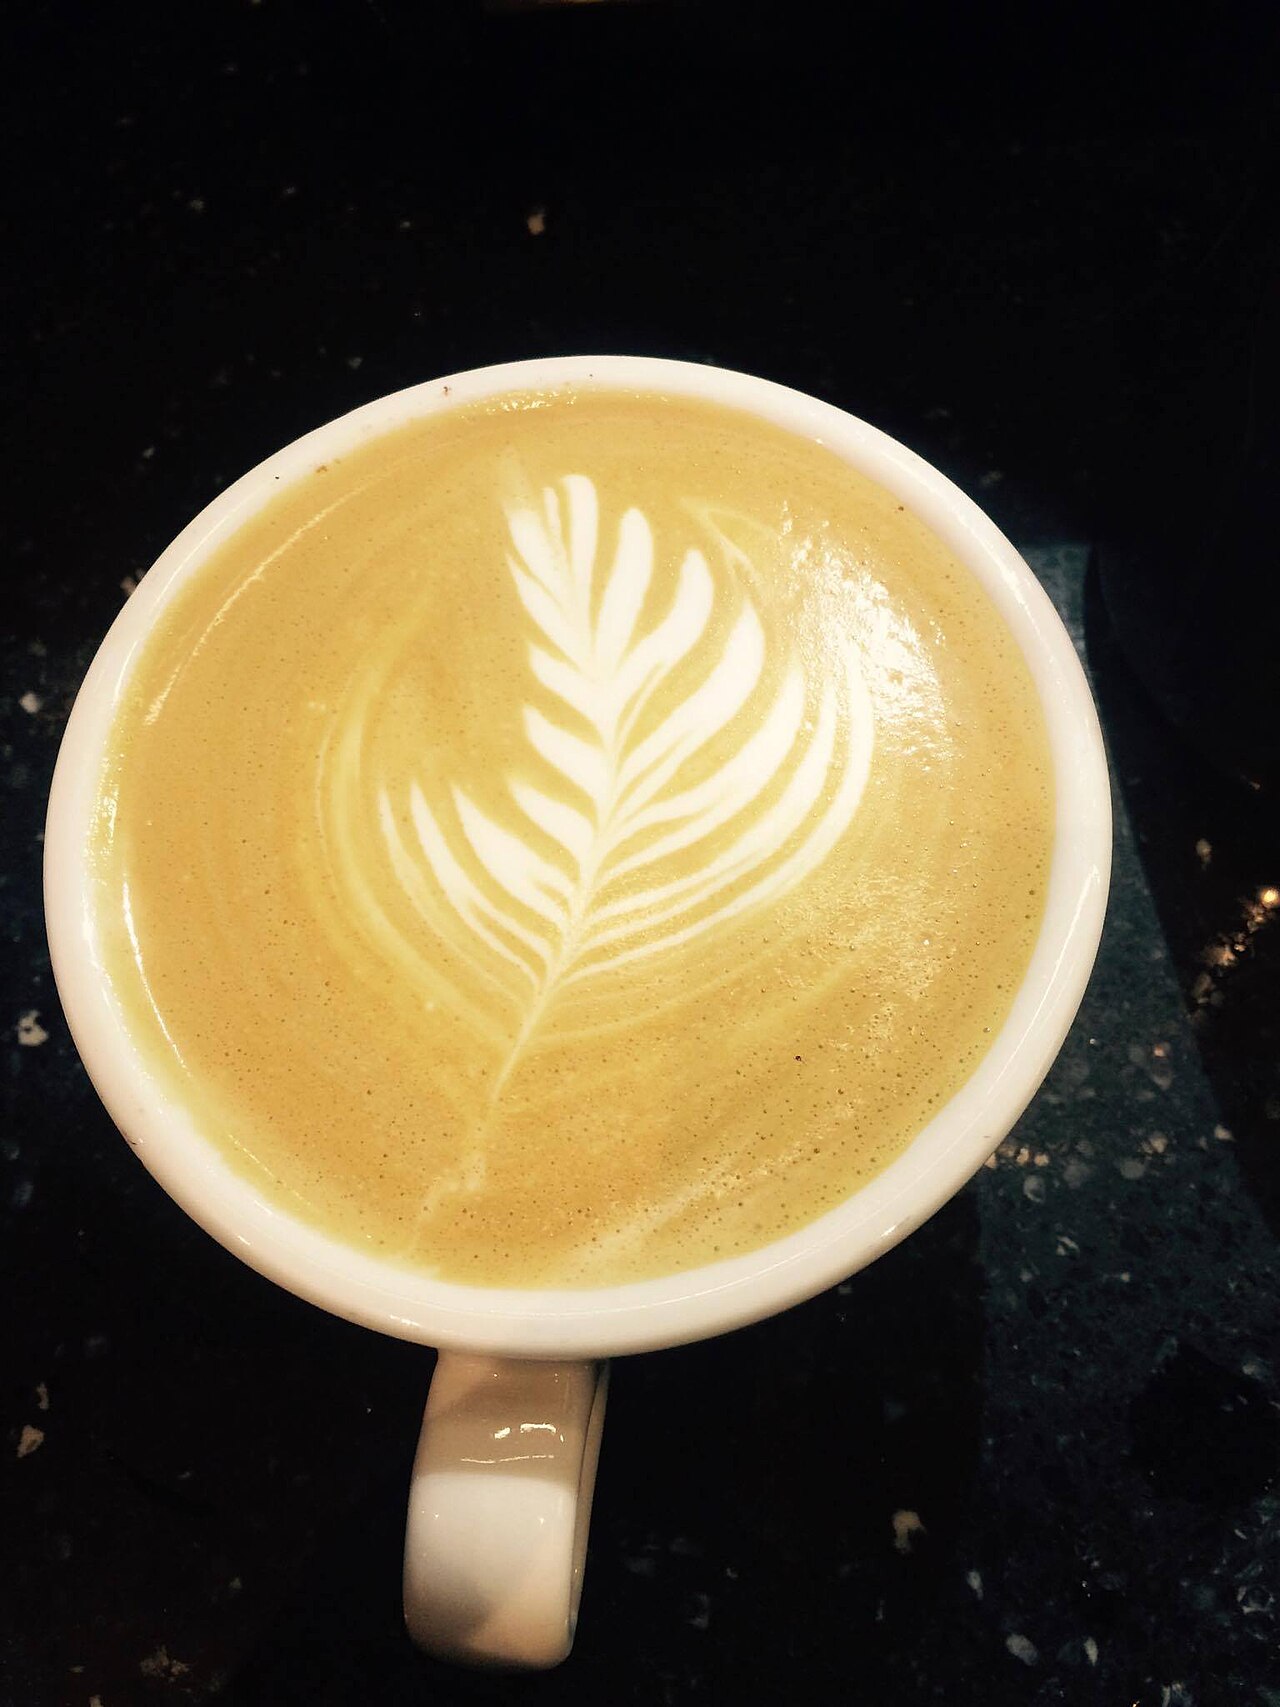
Connecting to Café con Leche
The Puerto Rican tradition of café con leche is a closer cousin to a cafe latte than most people realize. The traditional preparation calls for strong dark-roasted Puerto Rican coffee combined with steamed or scalded milk in roughly equal parts. The technique most home preparations use — heating milk in a saucepan or with a small steam wand on a moka-style stovetop espresso maker — produces a different texture than cafe steam-wand microfoam, but the underlying drink structure is the same: strong concentrated coffee plus textured milk.
Latte art is not part of the café con leche tradition. The drink has historically been served as a uniform brown beverage, with the milk and coffee combined before serving. But the principles of milk texturing translate directly between traditions. A Puerto Rican home preparation that learns proper milk steaming technique can produce a café con leche with a depth of texture and sweetness that simple heated milk cannot match.
Practice Routine
The single most useful practice approach is repetition with intention. Steam ten cups of milk in a single session, aiming for the same texture target every time. Pour each one. Pay attention to which textures produced the best pours. Over time, the muscle memory builds and the variation in your output drops.
The pour is the same idea. Practice the heart first until you can produce it consistently. Move to the tulip only after the heart is reliable. Move to the rosetta only after the tulip is reliable. Most baristas find they can pour a respectable heart within a week of daily practice, a respectable tulip within two to four weeks, and a respectable rosetta within a few months. The rosetta is the threshold pattern — it separates beginners from competent baristas.
Key Facts
- Latte art requires microfoam, not foam — air bubbles must be invisible
- Stretching adds air; texturing breaks bubbles down
- Target milk temperature is 55-65°C / 130-150°F
- Cold milk produces better microfoam than room-temperature milk
- Whole dairy milk steams best; barista-formulated oat milk is the best alternative
- The heart, tulip, and rosetta are the three foundational patterns
- Pouring height controls whether milk floats or sinks into the espresso
- Glossy paint-like consistency is the visual signal of correct microfoam
- Espresso must have intact crema for visible art
- Practice routinely — the skill builds across weeks, not days
Frequently Asked Questions
Can I make latte art without an espresso machine? You need real espresso with crema for the white-on-brown contrast. Stovetop moka pots produce a strong concentrated coffee but no real crema, and the surface of moka coffee will not hold latte art patterns. AeroPress similarly does not produce true crema. A real espresso machine is required.
Why does my milk get bubbly even when I'm careful? The most common cause is a dirty steam wand. Milk residue inside the wand tip changes the steam output pattern. Wipe the wand and purge it with steam after every use, and clean the tip thoroughly weekly with a wand cleaning solution.
Is whole milk really necessary? For traditional latte art, whole dairy is the gold standard. Reduced-fat dairy works but with less foam stability. Barista-formulated oat milk is the closest non-dairy alternative. Standard plant milks generally do not steam well enough for art.
Why does my latte art disappear? If the art fades quickly, the microfoam was too thin — not enough air retained in the structure. If the art smears, the espresso was disturbed or the pour height was wrong. If the art looks fine in the pitcher but vanishes when poured, the texture is fragile and needs more time in the texturing phase.
Do I need a thermometer? Helpful at first, unnecessary later. Most working baristas use the hand-on-pitcher method — when the pitcher becomes uncomfortable to hold, the milk is at temperature. A surface thermometer or wireless probe can help during the learning phase, but the goal is to develop the feel.
Related Articles
- Espresso: The Complete Guide to Italy's Greatest Coffee Invention
- Espresso Machines: Lever, Heat-Exchanger, Dual-Boiler — The Complete Buying Guide
- Coffee Grinders: Burr vs Blade — The Complete Buying Guide
- Café con Leche: The Puerto Rican Morning Tradition
- Caffeine: How It Works in the Human Body
- What is Coffea Arabica? The Noble Coffee Species
- Pilón de Café: The Wooden Pestle Tradition of Puerto Rico
Taste Authentic Puerto Rico Coffee
Great latte art begins with great espresso, and great espresso begins with great beans. Single-origin Puerto Rican coffee — grown above 3,000 feet in the central mountains of the island — produces the rich crema and the deep flavor that makes every drink, with or without art on top, taste like the cafes of San Juan.
BUY AUTHENTIC PUERTO RICO COFFEE NOW →
Freshly roasted, shipped worldwide. The real taste of Boricua heritage in every cup.
Part of The Coffee Encyclopedia — the world's largest free coffee reference. Proudly sponsored by PuertoRicoCoffeeShop.com.